Last time we shared an introduction to Canva, an awesome web application making on-brand graphic creation easy and approachable. Now I’ll share how it can be used to drive engagement on your Instagram account.
The changes to the Instagram algorithm have been endlessly frustrating to businesses who feel like their posts aren’t being seen by their followers. Many users have been driving engagement on their posts through their Instagram stories which appear to be viewed more often than the posts themselves.
While Instagram has been rolling out awesome additions to their in-application tools for Instagram stories, there’s a lot you can do to create outside of the app too. If you’re dissatisfied by what’s available to you through Instagram but don’t feel comfortable using Photoshop, Canva is here to help. They have a wide range of templates pre-formatted for Instagram stories and you can find them all right here or you can search the template page for “Instagram stories.” The options include text-only graphics as well as ones you can place your own photos into.
These templates are especially great to drive traffic to your account when you’re running a sale or special or want to direct your viewers to new content including blog posts and other updates.
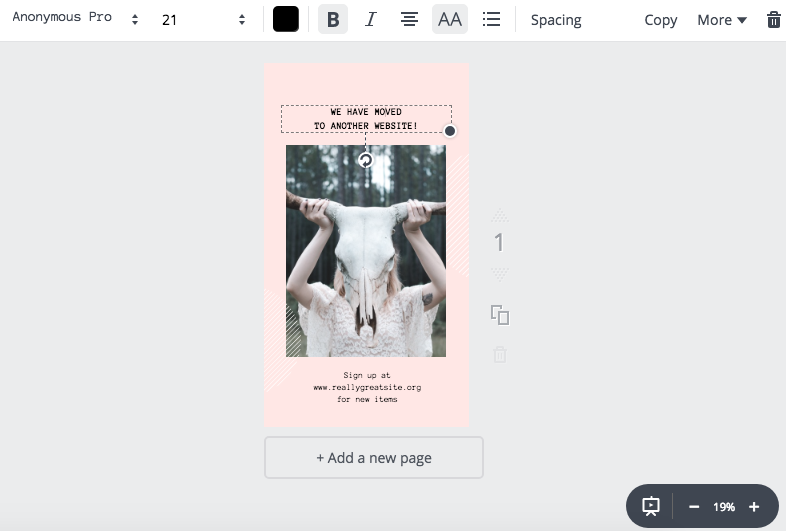
I made one to promote the post I made about my coworking space, The Wing. I chose this pale pink template because it matches The Wing’s branding. The color can always be changed in the editing window anyway but it’s always helpful when the template is already in line with your end goals.

After selecting the template, it will bring you to a window where you can click on each element of the template and customize it. We started by updating the text. All the text design options will appear at the top of the editing window when you select a text element.
Here is also where you can change the font if you want to go for another style that’s more in line with your brand. I changed it up a little bit for this example.
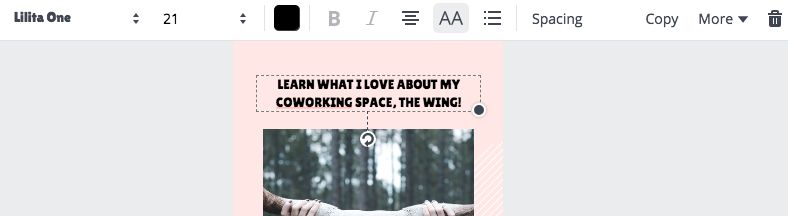
I also wanted to change the image to one that fits our content more appropriately so I snagged one from our blog post. This is where it gets a little tricky but I’ll make it easy for you!
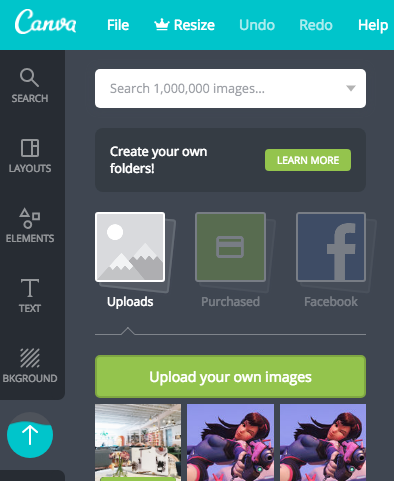
Head over to the left panel of the editing window and click on “uploads.” This will open a window that will allow you to upload your own images. Upload whichever image you want here.
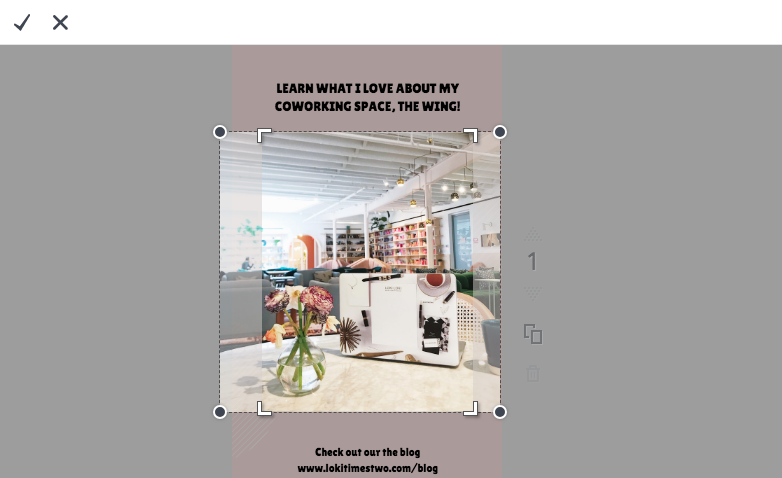
Once your image is uploaded, double click it to insert it into the document. It should appear as the top most element in the editor. Stretch it so that it covers the whole image that you’re trying to replace. Once it’s large enough, double click it and then click the “crop” button on top of the editing screen.
Move the crop marks until they match the size that you want and then click the check mark on the top left.
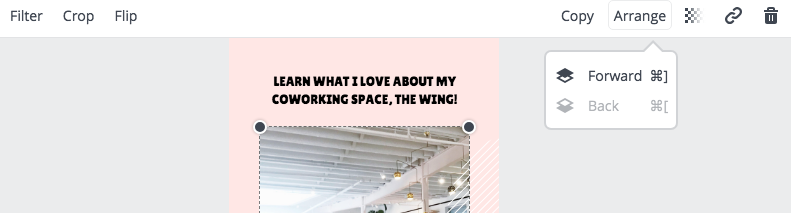
Now your image will be the top most layer so to make the white details on top again, press the “arrange” button on the top left and select “back” until you see the original image again. Then select the image, hit the trash icon and select “delete element.”
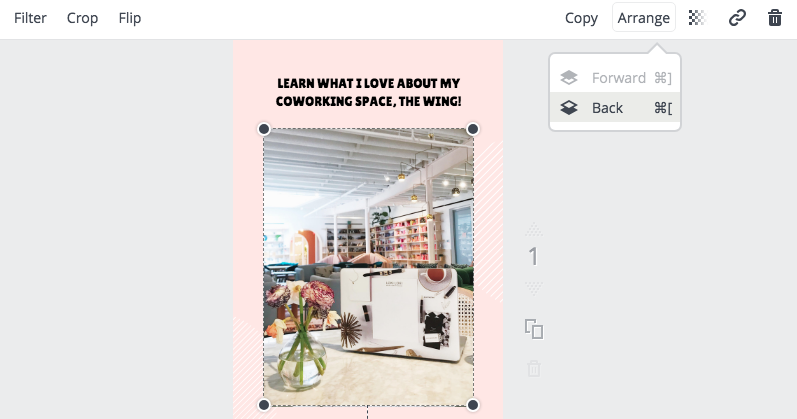
Then select the image you uploaded again and arrange it towards the back until you can no longer click “back” anymore.
When you’re finished, press “download” at the top of your screen and save the image. Then you can upload it to your Instragram story just like any other image!

There are so many templates you can try out and get creative with by adding multiple images to your Instagram story or adding gifs as accents within the Instagram app. Check out Instragram’s help section if you need help with Instagram stories in general. Happy posting!